Cassandra Installation:
Cassandra Installation is very easy on both Linux as well as on windows platform. After Installation user can access Cassandra nosql database through different methods. By using the drivers of different languages as well as cqlsh shell on CMD. This tutorial will completely explains how to Install Cassandra on Linux. And with cqlsh and java environments to work with Cassandra nosql db.
What is in this Cassandra installation tutorial?
- Hardware Requirements for Cassandra in Production
- Pre requisite for cassandra Installation
- Step By step Installation of cassandra on Linux
Hardware Requirements for Production Cassandra Cluster Deployment.
RAM
Minimum Ram 64-512 GB on each Node is recommended for Production Environment.
Hard Derive
If you are HDD then no more than 500GB is recommended for Production Environment. But if you are using SSD then you can use up to 2TB of SSD per Node.
Processor
Minimum 16-core CPU processors (logical) each node is recommended
Network
Minimum recommended Network bandwidth for Cassandra Production Cluster: 1000 Mb/s (gigabit).
Prerequisite for Cassandra Installation
- Linux Environment is needed
- JDK must be installed
- Download the Apache Cassandra Community edition. From apache website.
Installing Java (JDK)
Java or JDK is the first most important prerequisite for Apache Cassandra Installation. In First step, verify either java is already Installed or not in your system. For this purpose below mentioned command is used. Open terminal in Linux run the following command.
$ java -version
If Java is already installed in your system the command will return the following output
 java version "1.7.0_71"

Java(TM) SE Runtime Environment (build 1.7.0_71-b13)

Java HotSpot(TM) Client VM (build 25.0-b02, mixed mode)
If you didn’t get the above response it means java is not installed on your system. Now follow the below mentioned steps to install java on your system to Install java.
Step 1
- Download java (JDK <latest version> – X64.tar.gz)
- To download Java latest version. Click Here
Then jdk-11.0.1-linux-x64.tar.gz will start downloading onto your PC.
Step 2
Generally the downloaded file is placed in download folder. Verify the downloaded file and extract it using the below mentioned commands as this file is compressed.
$ cd Downloads/

$ ls

jdk-7u71-linux-x64.gz

$ tar zxf jdk-7u71-linux-x64.gz

$ ls

jdk1.7.0_71 jdk-7u71-linux-x64.gz
Step 3
To set up JAVA_HOME and java PATH variables, include the following lines to ~/.bashrc file.
export JAVA_HOME = /usr/local/jdk1.7.0_71
export PATH = $PATH:$JAVA_HOME/bin
After adding these lines apply the changes in current running systemusing following command.
$ source ~/.bashrc
Now use the java -version the very first command on the terminal to check whether java is correctly installed in your system or not.
Setting the Path
Add the below mentioned lines in your “/.bashrc” file to Set the path of Cassandra path.
[hadoop@linux ~]$ gedit ~/.bashrc


export CASSANDRA_HOME = ~/cassandra

export PATH = $PATH:$CASSANDRA_HOME/bin
Download And Installation of Cassandra:
Cassandra can be downloaded from official apache website. To Download cassandra latest version. Click here.
Keep in mind that you have downloaded the community edition.
Keep in mind that you have downloaded the community edition.
- Unzip the file using the following command
$ tar zxvf
apache-cassandra-2.1.2-bin.tar.gz.
- Change the permission of file and allow it to execute using chmod(+x) command.
- Now start installing the
Cassandra by executing the cassandra installable file.
- Open terminal using command Alt+Ctrl+t
- ->Cd Desktop
- -> cd Cassandra\enterprise/
- ./DataStaxEnterprise-linux-x64-installer.run(executable Cassandra file name.)

Install using command given below “ ./DataStax…… ”

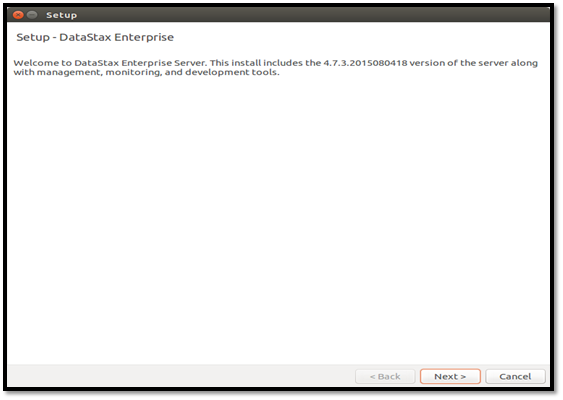
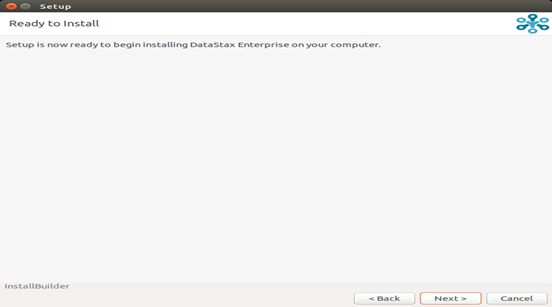
Click Next

Select “I accept the agreement”
Click Next>
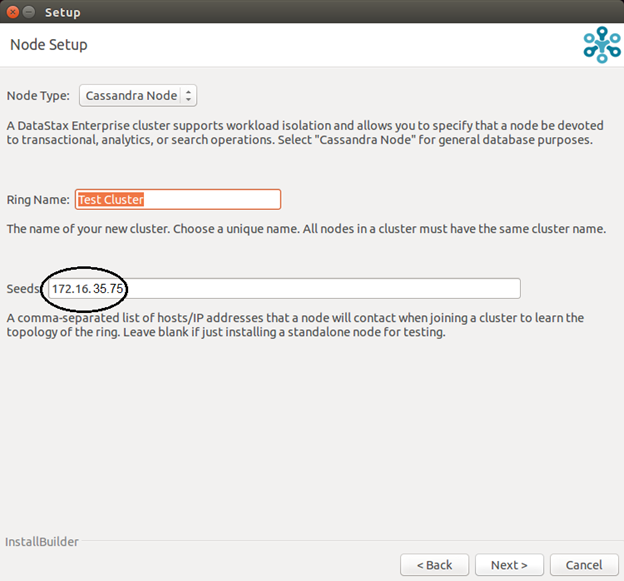
Give seeds IP Address,
Make your Cluster’s First Node is seed Node. You can mention more than one seeds as your seed just by separating them by comma.
Make sure you give the same seed node IP while Cassandra Cluster setup on different node of cluster.
If you are configuring Cassandra on more than one Servers, Then give Previous Node seeds along with the current server seed (each server first node is considering as seed node) separated with coma “ , ” .
For example
172.16.35.75, 172.16.36.75, 172.16.37.75
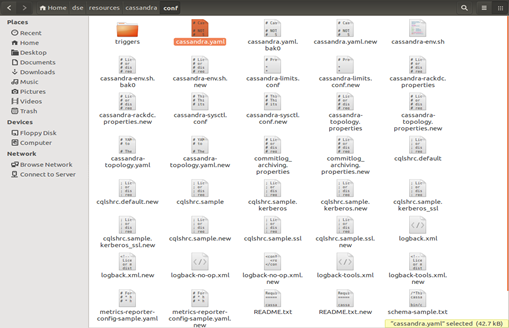
You can also be put later after the Cassandra installation in cassandra configuration file named “cassandra.yaml” placed under the directory,
Files -> Home -> dse -> resources -> Cassandra -> conf ->Cassandra.yaml
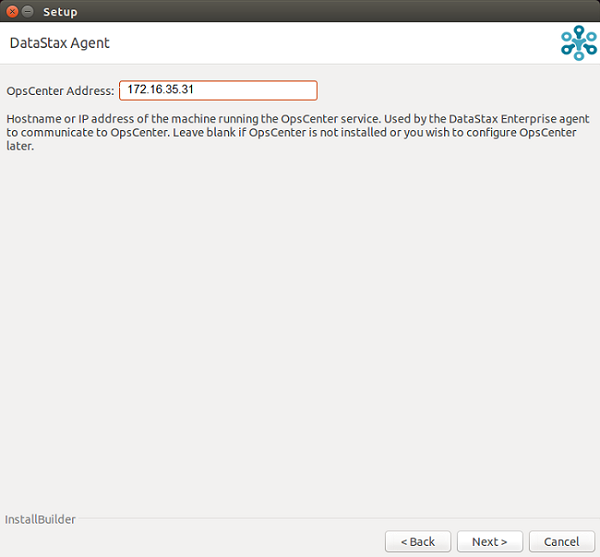
Here you have to give the IP address of Opscenter.
Opscenter is basically a Cassandra health monitoring tool. You can install Opscenter on any Linux machine. And monitor Cassandra health by using this tool.
I will write another step by tutorial for Cassandra health monitoring.
Click “Next” ,
Click Next.
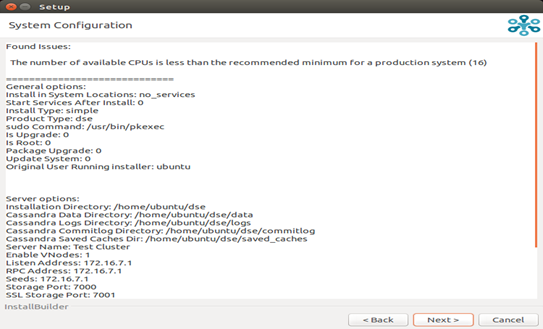
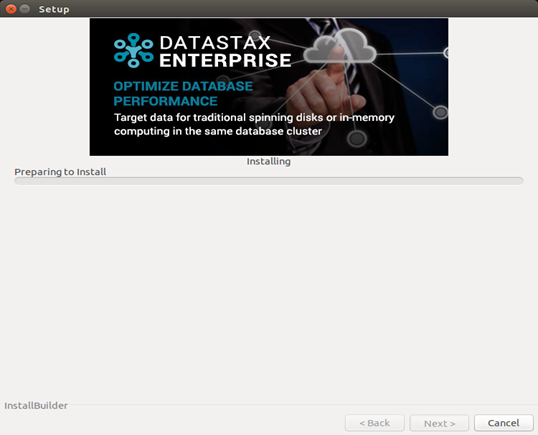
It’s all done with configuration, now Cassandra will start installing on your Linux (Ubuntu) machine.
It requires password to complete the process.
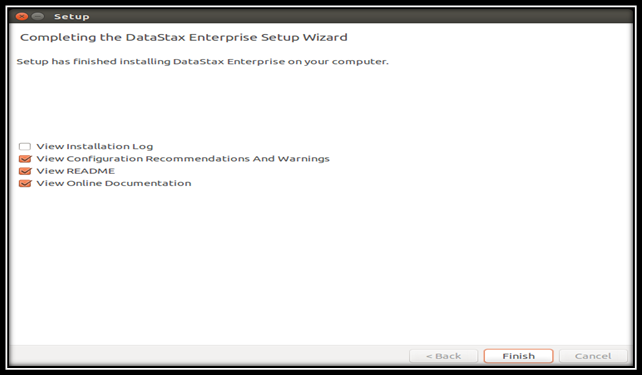
Unchecked all the options and click “Finish”.
Cassandra is installed successfully on your system. By using the above mentioned steps Install Cassandra on all Nodes.
Note: Keep the “IP” configuration on all the nodes if you you are using some local network.
Best Practices for Cassandra Configuration:
Here I am stating some best practice for Cassandra optimization that we use in Cassandra configuration.
First thing you have to do is open the Cassandra configuration file named “cassandra.yaml”. open this file in any text editor. The directory of configuration file is given below.
Files -> Home -> dse -> resources -> Cassandra -> conf ->Cassandra.yaml
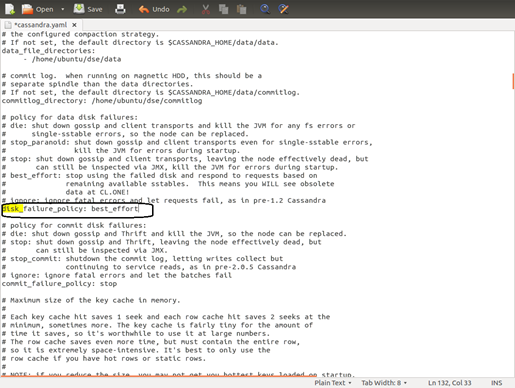
Step 1:
Change the behavior of cluster when some node Cassandra Cluster goes down. By default it stops replying to queries. But we have to change it to “best effort”. By changing this attribute in cassandra configuration file your cluster start replying to queries from the replicated data.
Change disk_failure_policy “stop” to “best_effort”
Step 2:
Change the value of “endpoint_snitch” to RackInferringSnitch. As this will further optimize your Cassandra cluster’s insertion rate and read rate.
And endpoint_snitch to “RackInferringSnitch”
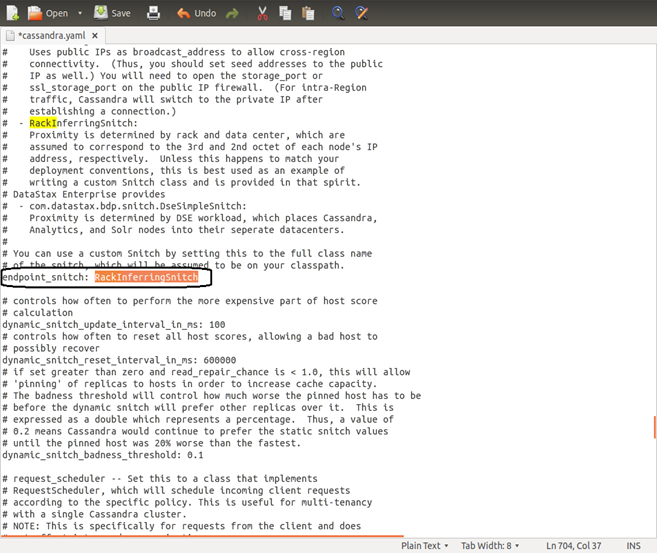
Save the above changes in cassandra.yaml file and close it. Your Cassandra is perfectly Optimized. And ready to run in production environment.
Initializing Cassandra Cluster:
Now it’s time to start your Cassandra Cluster. The first key point to remember while initializing your Cassandra Cluster is Start your Cassandra Nodes one by one.
Start A Cassandra Node
Open the terminal in your Linux Environment. Execute the following commands.
- Cd dse
- Bin/dse Cassandra -s

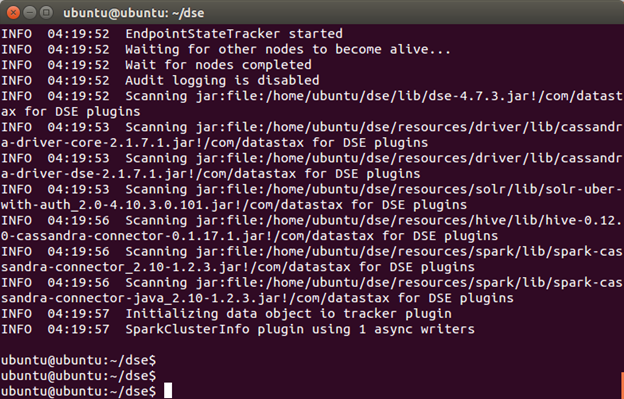
After the cassandra Node fully Starts(it will definitely take few minutes). You can check the status of your cluster.
Cassandra Cluster Status:
To check whether the node is up and perfectly joins the Cluster. you may use the below mentioned Commands.
- Cd dse
- Bin/dse nodetool status

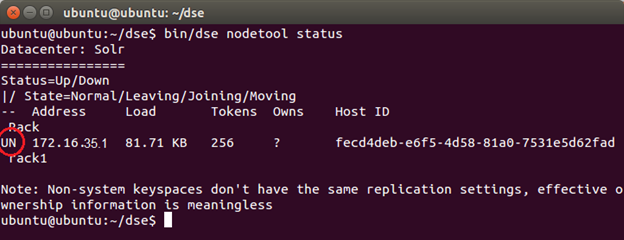
The circled “UN” shows that the Node is up. This command will list down all the nodes of cluster. Which currently joined the Cassandra cluster as well as their status.
Stop Cassandra on a Node:
To stop Cassandra on a node use command.
- Cd dse
- Bin/dse Cassandra-stop

Uninstall Cassandra on a Node:
To uninstall Cassandra from a node,
- Cd dse
- ./uninstall
Remove Node From Cluster:
- Cd dse
- Bin/nodetool removenode force “node id”
See Also
Cassandra Create, Alter and drop table
The Cassandra Data Model
Apache Cassandra Architecture
Complete Cassandra Tutorial 2019
Summary
This Tutorial Completely explain the Cassandra Installation process, Cassandra Cluster setup, Add a node in cassandra cluster, remove a node from cassandra cluster, and much more.
7 Replies to “Cassandra Installation And Cluster Setup”
Comments are closed.